さくらのVPSにcoreosをインストール
さくらのVPSにcoreosをインストール
coreosのインストール
1. イメージのダウンロード
2. sftpでさくらのVPSにuploadする
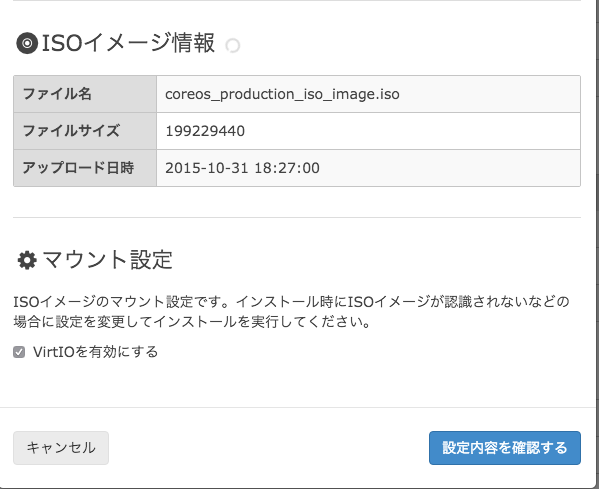
2-1.「ISOイメージインストール」を選択
2-2. sftpのアカウントを発行し、ファイルをアップロードする

  sftp アカウント@ホスト
  sftp> cd iso
  sftp> put coreos_production_iso_image.iso
3. coreosのboot
3-1. 「ISOイメージインストール」を選択後、下の方にスクロールすると「設定内容を確認する」ボタンがあるので、クリックする
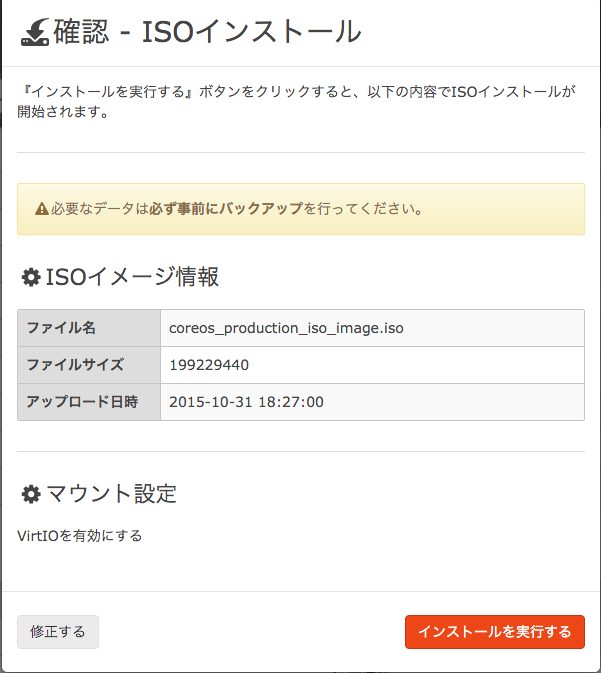
3-2. 「インストールを実行する」ボタンをクリックしてbootする
4. 初期設定
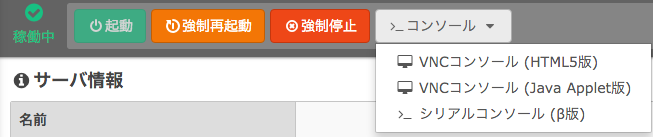
4-1. コンソール接続を行い、インストールを行うための設定を行う
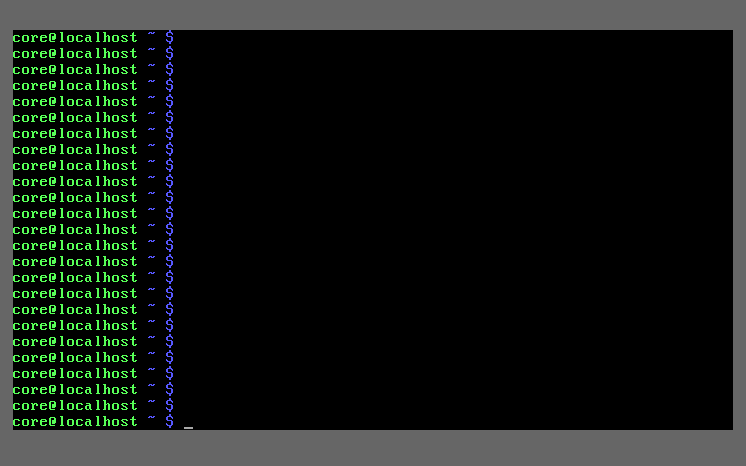
4-2. 起動後のコンソール画面
4-3. IPアドレス/デフォルトゲートウェイ/resolvの設定を行う
sudo ifconfig eth0 xxx.xxx.xxx.xxx netmask xxx.xxx.xxx.xxx
sudo route add default gw xxx.xxx.xxx.xxx
sudo vi /etc/resolv.conf
- 4-4. iterm2等のターミナルから接続を行う
ssh core@xxx.xxx.xxx.xxx
5. coreosインストール
- 5-1. cloud-config.ymlファイルの作成
vim cloud-config.yml
#cloud-config

hostname: xxxxxx

write_files:
  - path: /etc/systemd/network/static.network
    permissions: 0644
    content: |
      [Match]
      Name=eth0

      [Network]
      Address=xxx.xxx.xxx.xxx/23
      Gateway=xxx.xxx.xxx.xxx
      DNS=xxx.xxx.xxx.xxx
      DNS=xxx.xxx.xxx.xxx

users:
  - name: xxxxxx
  - passwd: `openssl passwd -l`
  - groups:
    - sudo
    - docker
  ssh_authorized_keys:
    - ssh-rsa xxxxxxxxxxxxxxxxxxxxxxxxx
※ coreユーザの設定を行いたい場合は、usersの部分に同様に設定を追加する必要がある
※ passwdの部分は、openssl passwd -lの実行結果を記載すること
- 5-2. coreosインストール
## fdiskでインストール対象のディスクを確認
sudo fdisk -l

## インストール
sudo coreos-install -d /dev/vda -c cloud-config.yml -C stable
- インストール完了のログ
2015-11-01 04:47:30 URL:http://stable.release.core-os.net/amd64-usr/766.4.0/coreos_production_image.bin.bz2 [195077671/195077671] -> "-" [1]
gpg: Signature made Wed Sep 16 23:11:07 2015 UTC using RSA key ID 1CB5FA26
gpg: key 93D2DCB4 marked as ultimately trusted
gpg: checking the trustdb
gpg: 3 marginal(s) needed, 1 complete(s) needed, PGP trust model
gpg: depth: 0  valid:   1  signed:   0  trust: 0-, 0q, 0n, 0m, 0f, 1u
gpg: Good signature from "CoreOS Buildbot (Offical Builds) <buildbot@coreos.com>" [ultimate]
Installing cloud-config...
Success! CoreOS stable 766.4.0 is installed on /dev/vda

reboot